Garden Synapse
This is the first of a Blog Post Series call Neuronknit that is focused on knitting patterns specifically written to target Brain Injuries recovery support.
This is the first of a Blog Post Series call Neuronknit that is focused on knitting patterns specifically written to target Brain Injuries recovery support. If you want to learn how to knit, this series will get you started along with learning new knitting techniques, colorwork, natural yarn dying, spinning your own yarn all while relaxing, strengthening, rebuilding and powering your brain.
I created this series due to suffering a serious skull fracture, brain bleeding and swelling. Even as the outward bruising was healing, my internal head injuries persisted for months, but I knew my knitting would help with the symptoms I was enduring. I had headaches, brain fog, nauseas, fatigue, sleep problems, memory issues, vision problems, dizziness when walking and more. On top of suffering a Traumatic Brain Injury, I had just lost my mom six months prior. Three months after my injury I lost my dad, then three weeks later I lost my sister!
I'm including these details so you can understand the tremendous amount of road that was ahead of me psychology after being diagnosed with Post Concussion Syndrome and the grief of life changing lost.
I have been knitting throughout most of my life and I know the science behind meditative knitting practices for mental health. I then started to knit specific pattern to exercise cognitive strengthening, which leads creating these patterns and sharing real supportive help to those who may want to use this historical craft to enhance your recovery results and maintain a healthy brain.
This series will include topics of:
Neurological Synapse
Grey and White Matter
Concussions/post concussions
Sport related injuries
Interpersonal violence Injuries
and more...
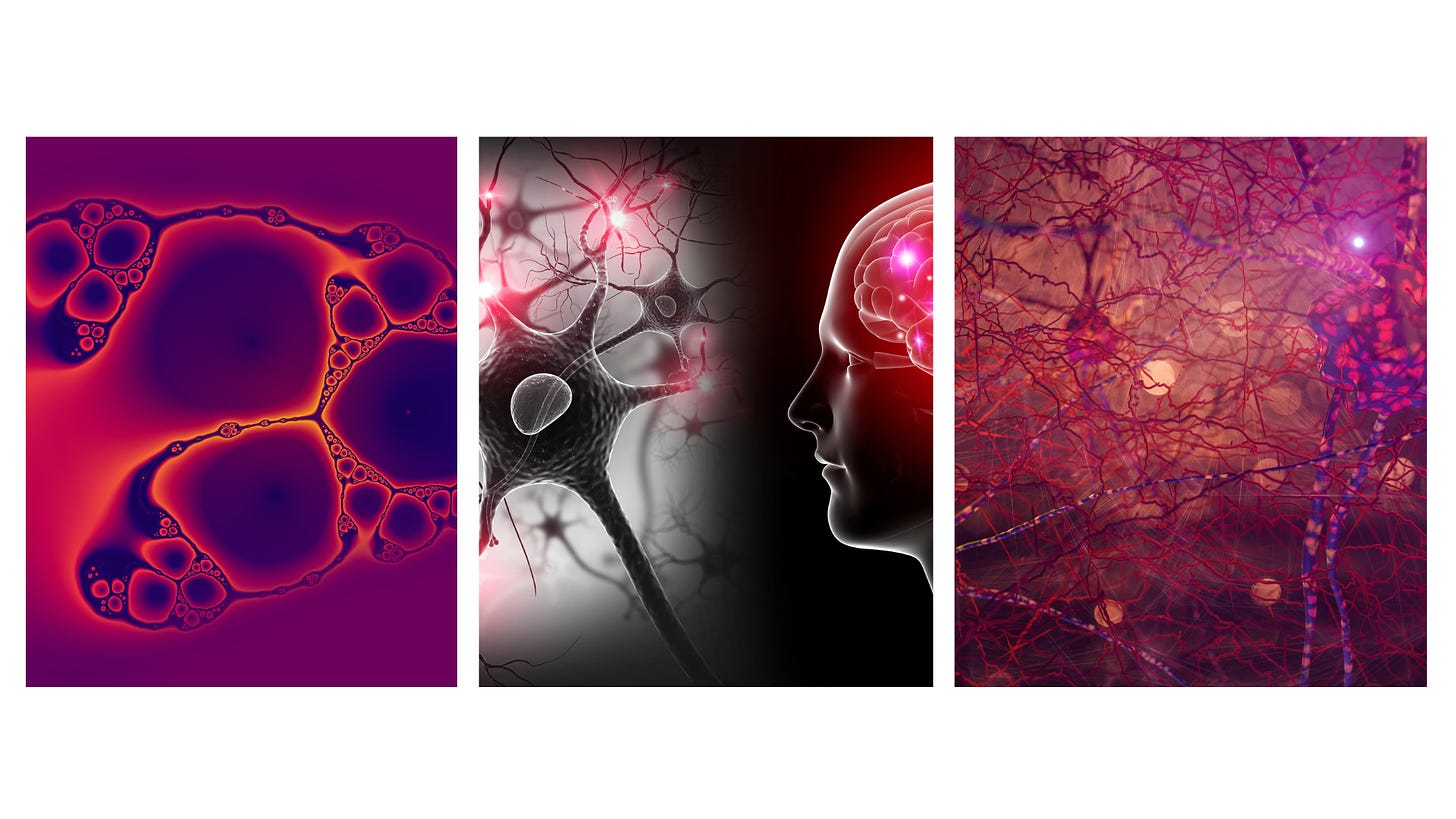
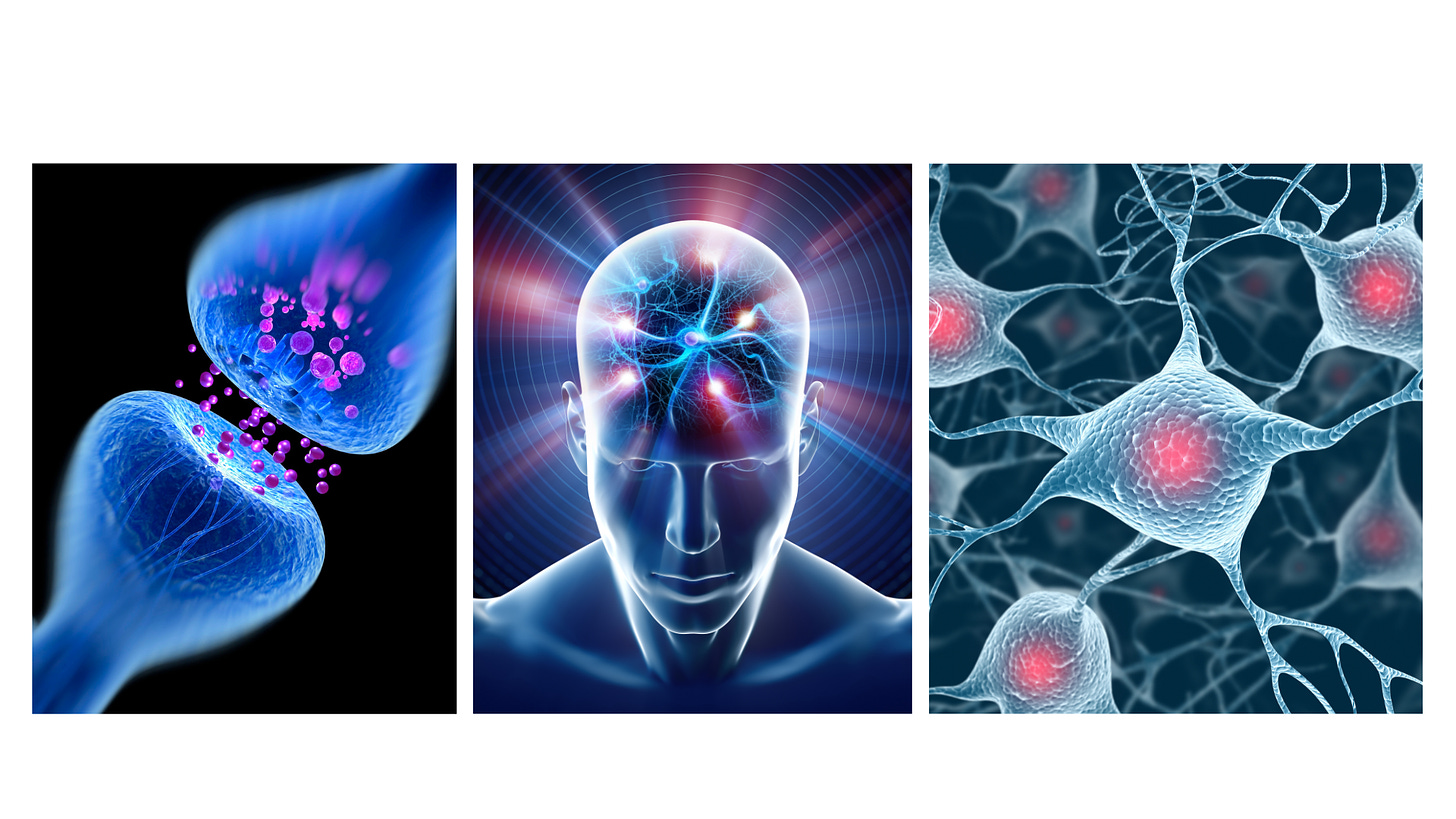
The places where neurons connect and communicate with each other are called synapses. Each neuron has anywhere between a few to hundreds of thousands of synaptic connections, and these connections can be with itself, neighboring neurons, or neurons in other regions of the brain. according to
Physiology, Synapse by Michael J. Caire; Vamsi Reddy; Matthew Varacallo
About the Garden Synapse Knit Pattern
The Garden Synapse pattern is a supporting tool for neuroplasticity strengthening , which is defined as the ability of the nervous system to change its activity in response to intrinsic or extrinsic stimuli by reorganizing its structure, functions, or connections after injuries, such as a traumatic brain injury (TBI), Post Concussion Syndrome, Stroke, Addictions or Chronic Stress Syndrome.
This pattern is made to engage your frontal lobe, motor cortex, Cerebellum, Hippocampus, and primary visual exercises
which supports improvement in:
Cognitive responses
Emotional intelligence
hand-eye coordination
memory strengthening
You may also find this pattern useful if you have continued:
headaches
vision problems
nausea
dizziness/balance issues
emotional triggers
personality/mood changes
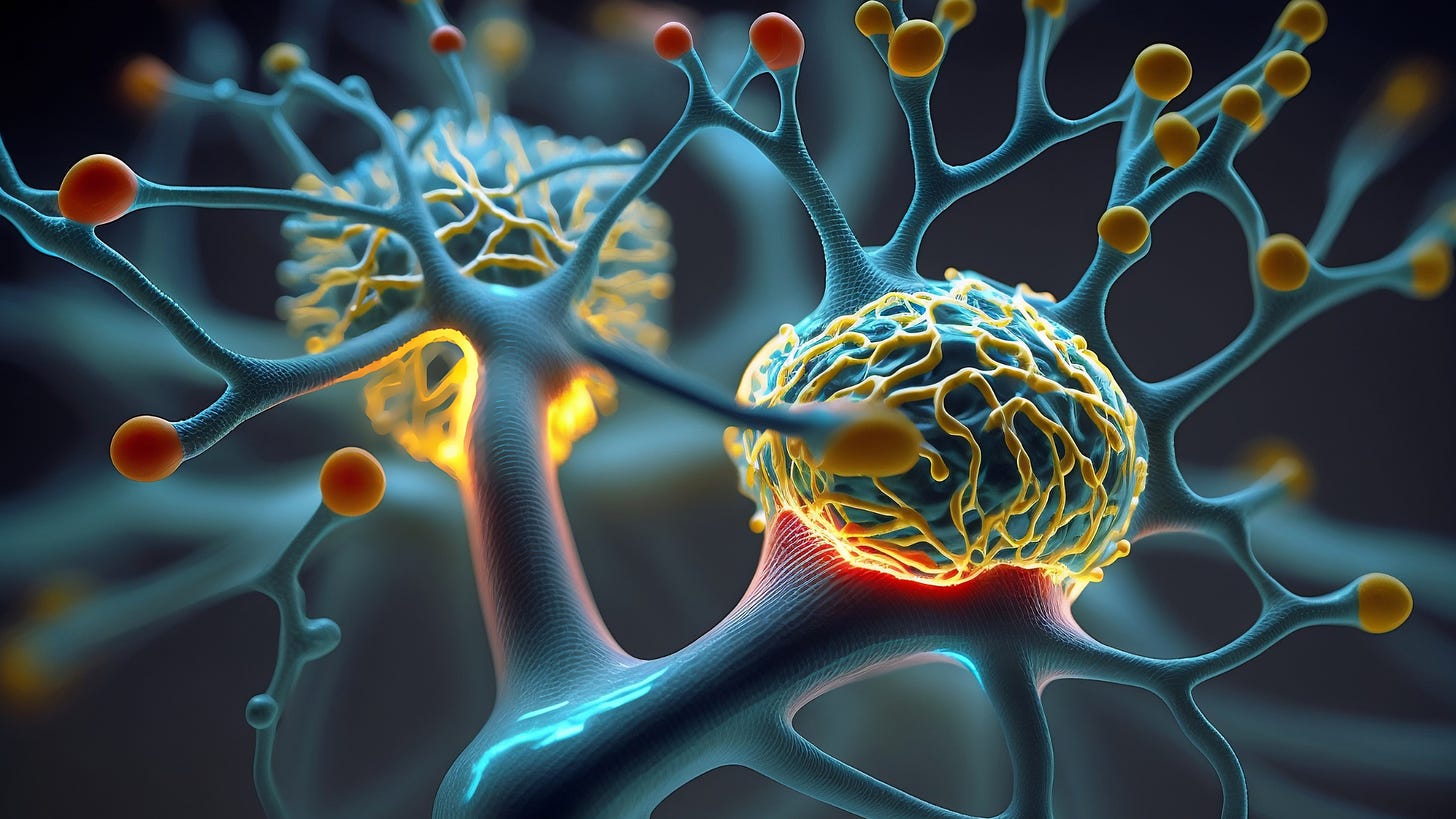
A Synapse is a junction between two neurons or a neuron and a target or effector cell such as a muscle cell. It permits the transmission of electrical or chemical signals. The synapse is formed between presynaptic and postsynaptic neurons.
Let’s active Synaptic pruning, which is thought to make the brain more efficient.
This pattern emulate the neuron transmitters as the leaves that carries signals (pops of colors) to the blooming flowers and fruit.
I choose a circular pillow as the finish product to emphasize the rotating nature of a synapse.
This is a charted pattern so you can create different products as well such as a blanket, shawl or larger pillow. Really skies the limit.
Knitting process and finished product
This is met to be a long term process with a finished item in the end.
This project will expose areas in your brain that will let you know what to do within that moment.
Example:
If you feel frustration and have to rip back a row, that's great! The point of this is to push through that frustration, build patience to accomplish your goal.
Neurological benefits
Learning new skills and techniques that include hand-eye coordination are clear winners for for brain strengthening.
Again, I created this pattern to tackle:
Frontal lobe strengthening
Concussion recovery
Addiction recovery
Chronic stress management
Pattern Content
Color Inspiration-Natural Yarn Dying-Spin your own yarn-Knit a pattern
3 Level Options
1.
pops of color along the branches
beaded flower
circular sides
colorful i-cord edge
DYI Natural dyed yarn
DYI hand spun yarn
2.
Less details such as removing pops of color or beading stitches.
One color i-cord instead of multicolor
3.
No pops of color or beading stitches
No circular sides added, instead can be closed as a flat edge pillow.
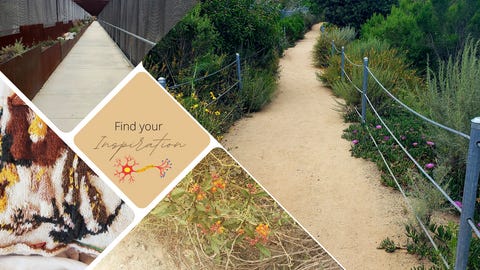
Get out and get inspired
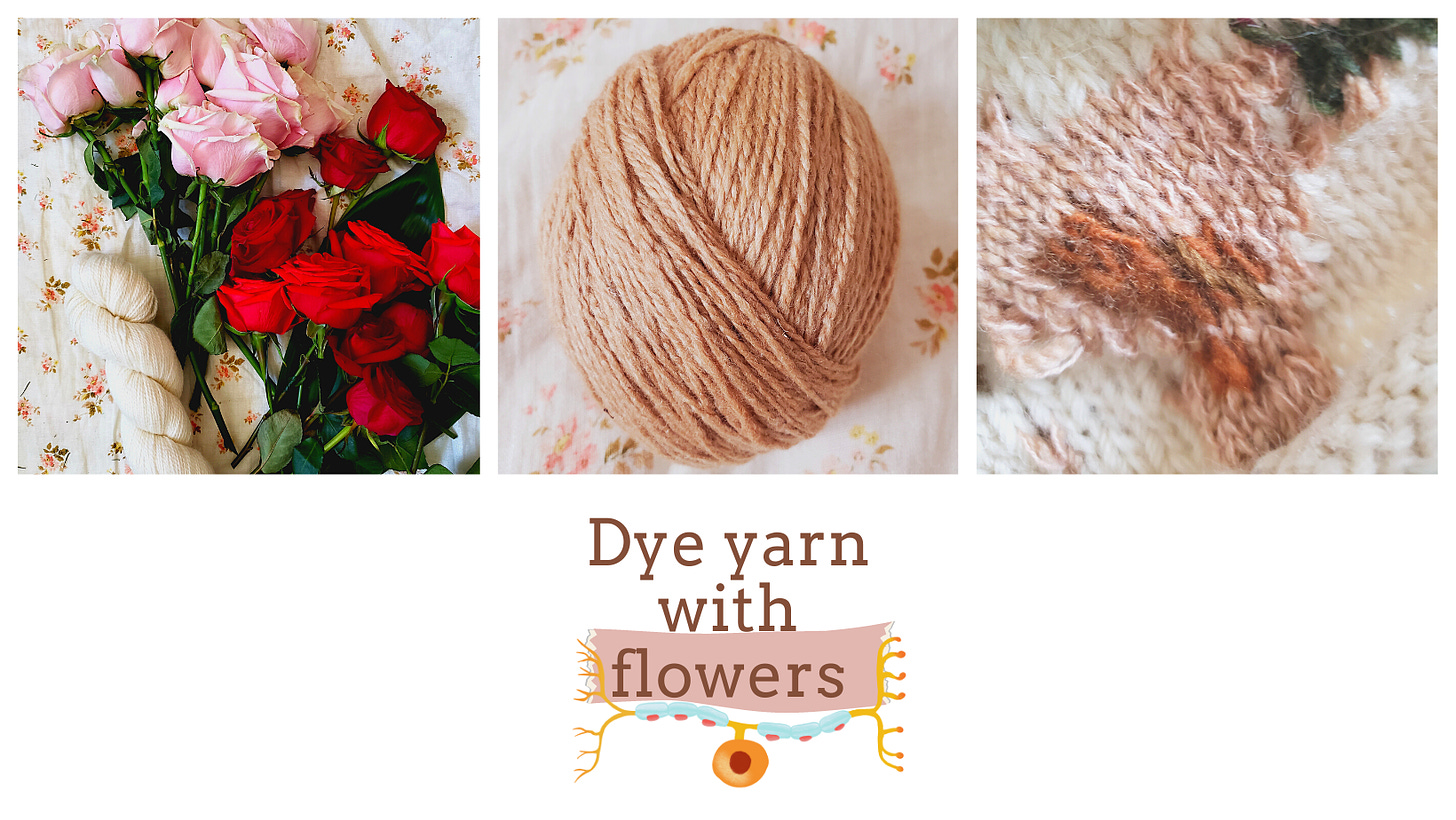
Dye yarn with flowers
Materials needed
Undyed skein of yarn
White vinegar
Rose pedals
Pot
Bowl, Bucket or Washing Pan
laundry detergent
spoon
gloves (if you want)
towel
drying rack
Yarn dying Instructions
Step 1: Prepping yarn
Choose an undyed yarn of your choice (I used a 100 gram skein). I used rose yarn for this project, however you can use any fiber of yarn you want. Keep in mind that wool fibers, plant fibers, and synthetic fibers all have different dying results. Place the undyed yarn in a bowl that contains 4 cups of water and 1 cup of white vinegar for at least 1 hour. Vinegar is a natural mordant which means that it is used to set dyes on fibers.
Step 2: Extracting the dye
You will need at least 12 red roses. Remove all rose pedals and place on a large pot of tap water. Bring to a boil and then let it simmer for at least and hour or until all color is removed from the rose pedals.
Step 3: Dyeing the yarn
Remove the rose pedals and place the yarn from the vinegar/water mixture and place into the pot of dye. Heat the pot and let it simmer for at least one hour. Then let the yarn sit in the dye for at least another hour to over night.
Step 4: Washing the yarn
I rinsed the yarn under some lukewarm running water. Then I fill the bowl with water and a mild wool detergent. I put the yarn in and let it sit for a couple of minutes up to a few hours. After this I wash it under some running water again. I repeat these last two steps until the water runs clear and try to use as little water as possible.
Step 5: Drying the yarn
Ring out access water and hang it to dry on a drying rack. or place evenly around a hanger. Depending on your air temperature is how long it will take to fully dry.
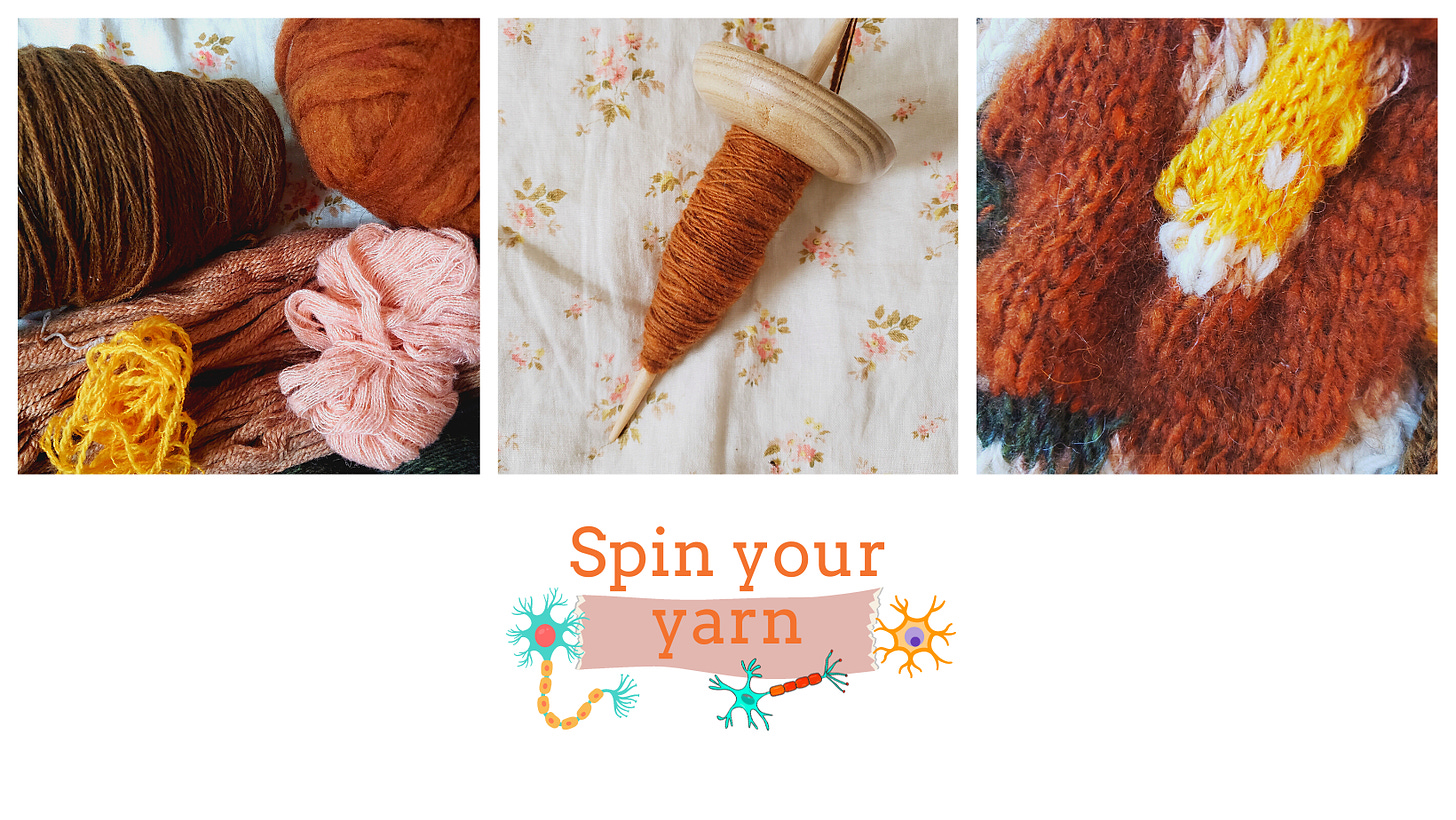
Spin your yarn
Materials needed
Roving or raw wool
Spindle or spinning wheel
Waste yarn
Fiber spinning Instructions
Intro to yarn spinning
For the purpose of this pattern, I will focus on spindle spinning instead of spinning with a machine. There are many types of spindles and I will focus on the "top whorl" spindle. I used qiviut fiber for this project, however you can use any wool, plant or synthetic fiber you want.
Step 1: Pre-draft
Break off a piece of roving about a foot long, and pull gently about 2 to 4 inches at a time to loosen the fiber to the end. Keep gently stretching out the roving until it is at least twice as long as the original length.
Step 2: Attach to spindle
sing a piece of scrap yarn tie a piece about a foot long to the shaft of your spindle, any old knot will do. Bring the leader around the edge of the whorl (many spindles have a handy notch in the edge for this purpose) and under the hook at the top of the spindle shaft.
Before introducing your fiber into the equation, you will give your spindle a (clockwise) spin by twirling the shaft below the whorl and letting it hang from the leader. The spindle keeps going for some time before the twist in the yarn fights back and slows it down.
Step 3: How to manage pre-draft yarn for spinning
Wrap your pre-drafted roving around your wrist. As you spin, you'll unwind the roving from your wrist. or your may throw over your shoulder to keep out of your way.
Step 4: Spinning
give your spindle a good clockwise spin, and let it hang, keeping your hand pinching leader (that has the waste yarn attached) and fiber together. You should notice the fiber twisting onto the leader. Let the leader build up a good amount of twist, then attach the pre-draft roving and allow the twist to twist into the roving. Repeat this process a couple of times.
Step 5: Wind on
Your newly spun yarn will eventually get too long. So you will unhook the yarn and wind all but 10' or so around the shaft of your spindle, then bring it around the whorl and into the hook again. Repeat this process until you have spinned all of your roving.
Before you start knitting...
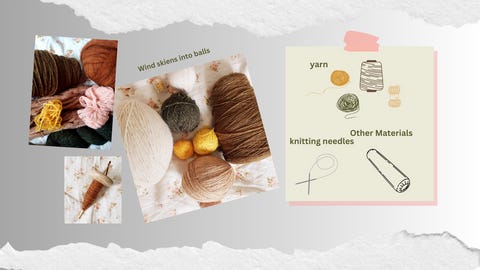
Needle Size
US size 7 circular knitting needles
US size 10 Crochet hook
Yarn
Maine top Mill, Merino/Rose yarn DK weight, held with lace weight yarn - pink
Brown Sheep nature spun 100% wool worsted weight cone
Isager Tweed - Bottle Green
Sport/lace held together - yellow yarn
Fisherman's wool, Lions Brand - natural, worsted weight
Qiviut roving - rust color
cashmere/merino lace weight yarn (for bead detail)
waste yarn for provisional cast on
Other Materials
Circle pillow
1.2mm hole size beads
Stitch markers
Stitch holder
Knitting Notes
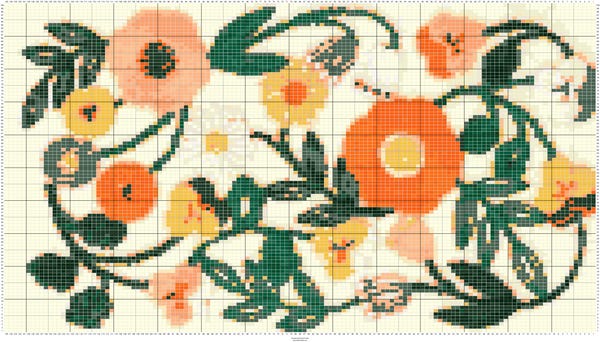
This is a charted pattern. All 3 level options is on the same pattern. You make the choice of what you want to get out of it in the process of making as well as the finished result.
Option 1: Maximize brain building and detailed results
Include pops of color along the branches and leaves
beaded flower
circular sides
colorful i-cord edge
Option 2: brain building and detailed results
Less details such as removing pops of color or beading stitches.
One color i-cord instead of multicolor
Option 3: brain building and completed results
No pops of color or beading stitches
No circular sides added, instead can be closed as a flat edge pillow.
Chart Notes
If you want to remove pops of color throughout the pattern, simply replace that color with leaf color you use.
If you want to add beading into the pattern, simply add beaded stitches where the faded grey squares are within the pattern.
Chart Colors
White - Main color
Dark green - Leaf
Olive green - Fruit leaf
Pink - Flower and pop color
Yellow - Flower and pop color
Rust - Flower
Beads - Faded grey square
Knitting Instructions
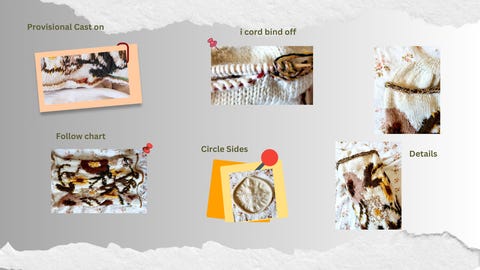
Provisional Cast on
A provisional cast-on is a temporary cast-on method that holds onto live stitches so that they can be knit into later. You cast on using waste yarn, using a smooth, firm yarn that’s in a contrasting color—easy to see and unzip from your live stitches.
Follow chart
Join in the round, place beginning of round marker
Knit 5 rounds
Follow chart
Knit 5 rounds
Place stitches on stitch holder or waste yarn
Circle Sides
Cast-on 8 stitches using the circle cast on method.
Round 1: Knit
Round 2: YO all STS (16 STS)
3-4: Knit (2 RNDS)
Round 5: YO all STS (32 STS)
Rounds 6-9 Knit (4 RNDS)
Round 10: YO all STS (64 STS)
Rounds 11-18: Knit (8 RNDS)
i cord bind off
R1: Start KFB, by placing STS onto the working needle. Repeat 2 more times for a total of 3 additional STS.
iR2: K2, K2TOG through the back loop, place 3 knitted STS back onto the working needle
Repeat R1-2 until bind off is complete
Pillow
You can use a pillow or any type of fiber you want to use as fluff for your choice of comfort.
Blocking
Wet block the almost completed knit pillow BEFORE the final i-cord and pillow insert
Place into a bucket cool water to relax the knit stitches. Make sure your press down lightly until all air is removed.
Use a large towel to remove access water after gently pressing out as much water with your hands.
Lay the pillow flat and let it air dry completely before you continue final details.
Thank you for knitting!
website: cashmereandbeach.com
Email: cashmereandbeach@gmail.com
Share: #gardensynpse
To help keep patterns free, you can donate at
Join a knitting community, your neurons will thank you.
Remember, It's not a race, it's a beautiful journey.
Cashmere & Beach@cashmerebeach4921
If you need resources for Traumatic Brain Injuries, start at :
Brain Injury Association of America
References:
National Institute of Medicine
YOUTUBE: What is Synaptic Pruning
TOUTUBE: How are Synapses like Trees


